



A garment hang tag is a small piece of print with several jobs. It introduces the brand, helps a shopper identify the product and gives the retail team information they may need at the point of sale. When these jobs are considered together, the tag becomes easier to design, approve and use.
For apparel brands, textile exporters and merchandising teams in Karur, a useful question is not simply “Which tag looks premium?” It is “Can the right person find the right information when this tag is attached to the actual garment?”
The short answer: start with an approved information list, reserve the barcode area before decorating the layout, inspect the proof at actual size and test a physical sample with the garment. Record who approves the content, the appearance and the production specification. These checks address different risks and should not be treated as interchangeable.
This guide offers a practical planning method for custom garment hang tags. It does not replace a retailer’s specification or market-specific labelling advice.
Begin with the selling situation
A tag designed for a boutique rail may be handled differently from one attached to a folded product in a protective sleeve. Online fulfilment creates another situation: warehouse staff may need to identify the correct style before the customer ever sees it.
Write down the product category, the destination market, the sales channel and the expected attachment method. Include a photograph showing how the garment will be presented. These details give the designer and printer a more useful starting point than a collection of attractive reference images.
Then ask the merchandising team to describe one typical interaction. Does a shopper first look for size? Does the store operator need to locate a code without removing the garment from its hanger? Does the tag need to remain visible after folding? A short description of the real task often reveals a layout problem early.
Avoid assuming that the same tag can serve every product in a range. The visual identity may remain consistent while the information arrangement changes to suit the product and channel.

Illustrative tag and fabric concept. Final materials, wording and dimensions should be confirmed through an approved sample.
Separate brand information from product information
Start with two lists. The first contains information shared across the collection: the brand name, approved logo, website and any verified brand statement. The second contains information that changes: style, colour, size, product code or other fields specified by the buyer.
This separation makes it easier to identify which elements belong in the common artwork and which require controlled variable data. A beautiful template can still fail if the data for one size is copied into another version.
For every field, assign an owner. Merchandising might provide the style reference, the brand team might approve the logo and the retailer might supply a format requirement. The exact roles vary, but someone should be accountable for the correctness of each item.
Claims deserve particular care. Do not add a sustainability statement, certification symbol or product attribute because it looks appropriate in a sample layout. Ask the responsible business owner to provide supporting approval and the exact permitted wording before it enters the artwork.
A hang tag is also not automatically a substitute for other product labels. Have the relevant specialist confirm what information belongs where for the product and its destination market.
Build a hierarchy a shopper can understand
Information hierarchy means making the most useful content easiest to notice. It does not mean making every line large or bold.
Print a rough layout at its intended size. Place it beside the garment and ask someone who did not design it to identify the product, size and brand. Watch the order in which they look, rather than explaining where the information is supposed to be.
If the reader repeatedly turns the tag over to find a basic field, consider whether the arrangement matches the selling situation. If a decorative background competes with small text, simplify the area around the information. The important test is what can be read on the physical sample, not what looks clear when enlarged on a screen.
Use language consistently across the collection. If one version says “Style” and another uses an unexplained abbreviation for the same field, the artwork may be visually consistent but operationally confusing.
Keep the first proof simple enough to evaluate. Decorative finishing can be considered after the team agrees that the content and arrangement work.
A useful tag makes the next action clear: identify the garment, understand the information or complete the retail task.
Editorial takeaway from Eagle Print Care’s planning guide.
Reserve barcode space before the layout becomes crowded
A barcode is a functional element. Its type, dimensions, placement and surrounding clear space should follow the requirements of the intended application. It should not be squeezed into whatever space remains after the rest of the tag is designed.
GS1’s guidance identifies symbol size, quiet zones and print quality as important considerations. Quiet zones are the clear areas needed around a symbol; the exact requirements depend on the barcode type and application. Use the relevant specifications and the retailer’s requirements instead of guessing a universal size. GS1 barcode quality guidance
Ask the data owner to supply approved identifiers and the correct barcode artwork or generation process. Do not redraw the bars as decorative graphics. Keep a record connecting each product variant to its approved data.
A useful proof review has two separate questions: is the encoded information correct, and is the printed symbol suitable for its intended use? Checking only the visible numbers does not answer the second question.
Discuss verification requirements before production. A quick scan on one device is a useful operational check, but it is not equivalent to a formal print-quality assessment. GS1 describes barcode print-quality evaluation standards in its implementation guidance. GS1: ten steps to barcode your product
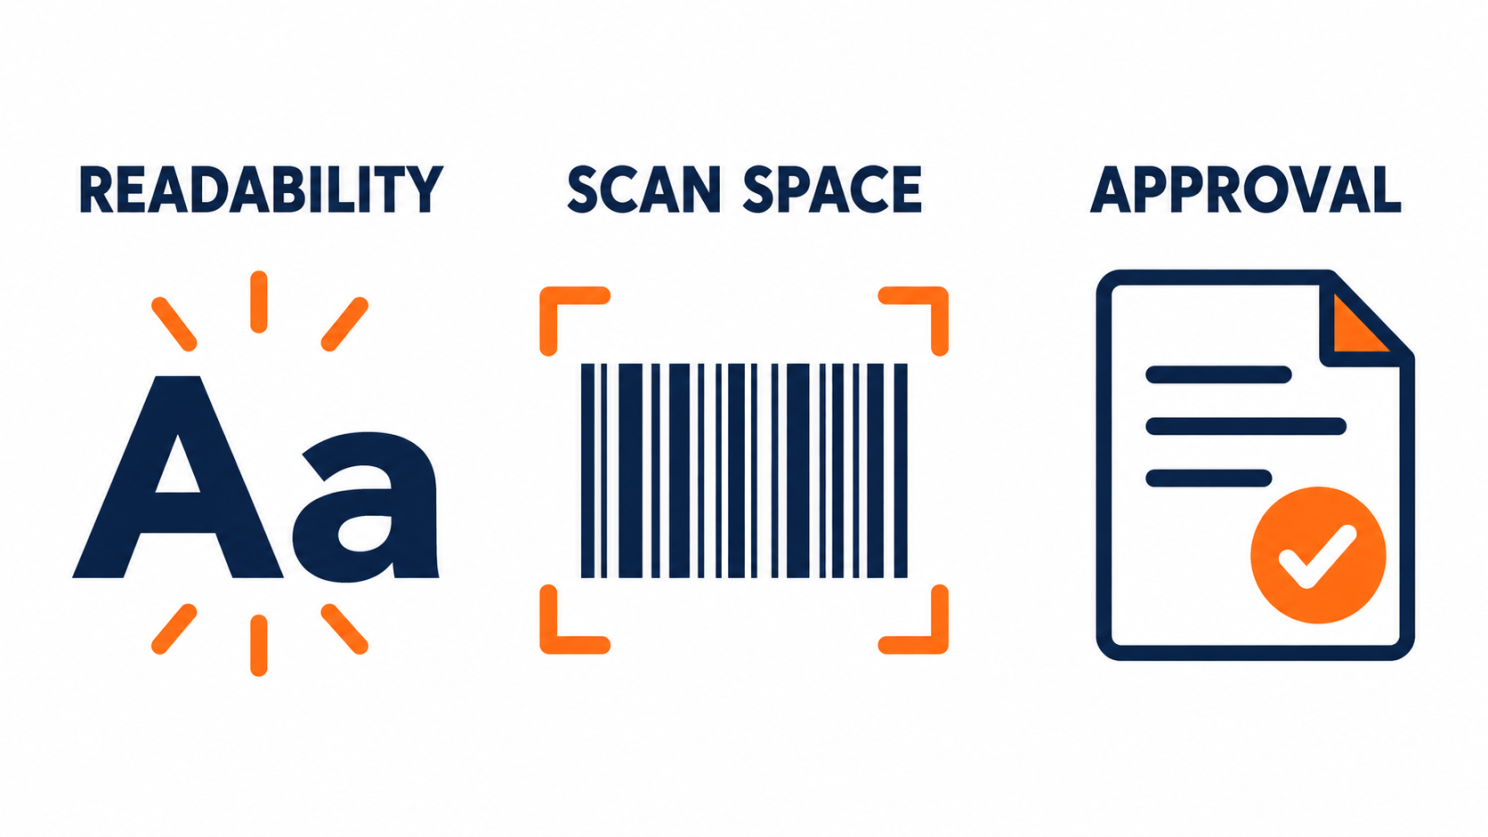
Planning concept: readable information, protected scanning space and a clear approval process. Any barcode-style graphic shown is illustrative, not a usable product identifier.
Review the tag as an attached object
A flat proof cannot show everything. The hole position, string or other attachment arrangement changes how a tag hangs and how the customer handles it.
Use a sample with the actual garment or a representative equivalent. Check whether the tag rotates away from view, catches on nearby items or presses against a delicate area. Ask the production team to confirm that the proposed attachment method suits the garment and its handling process.
Consider the entire tag set if there is more than one piece. A secondary information tag can obscure the main tag or make the set awkward to turn. The buyer should be able to review the assembled set rather than approving each component in isolation.
The same principle applies to folded presentation. Put the garment in its intended pack, then inspect the tag position. A layout that works on a hanger may be hidden by a fold or sleeve.
Record the agreed attachment arrangement with a photograph and a short note. This gives the packing team a practical reference and reduces the need to interpret the design later.
Choose material and finishing through a sample brief
There is no single paper weight or finish that suits every garment tag. The choice should reflect the intended appearance, handling, print process and commercial brief.
Tell the printer what matters most. Is the tag expected to feel understated, resist frequent handling or accommodate detailed information? Are there budget or timing constraints? A priority list helps the supplier propose a suitable option without guessing what “premium” means to the brand.
Ask for a sample that represents the proposed combination of material, print and finishing. A stock swatch is useful, but it does not show the completed tag with its text, hole and attachment.
Review finishing near functional information carefully. The team should confirm that the chosen treatment does not interfere with the intended readability or barcode performance. Keep changes documented, because a new finish can require a fresh review even when the artwork file appears unchanged.
An illustrative case: one collection, several avoidable errors
Consider a fictional apparel brand preparing hang tags for a new shirt collection. The design looks polished on screen, so the team initially plans to approve the entire range after reviewing one colour and size.
During a structured sample review, the merchandiser notices that a long colour name wraps into another field. The packing team finds that the attachment causes the second tag to cover the size. A data check also reveals that one artwork variant still contains a reference copied from the sample file.
The team separates the corrections. The designer adjusts the information area, the packing team agrees an attachment arrangement and the data owner supplies a controlled list for every variant. A revised physical sample is reviewed with the garment, and the final approval identifies the exact artwork revision.
This is a hypothetical example, not a reported Eagle Print Care client result. Its lesson is that an attractive proof, a correct data file and a usable attached tag are three different things. The review process should cover all three.

Illustrative merchandising review. Compare the printed sample, approved data and intended garment presentation before releasing the job.
Create an approval record that survives a busy week
Avoid an approval message that simply says “okay” beneath a long chain of attachments. Identify the file name, revision and date, together with the sample or specification being approved.
A practical approval record can include:
The product range and versions covered by the approval.The final artwork revision and approved variable-data file.The agreed material, dimensions, finishing and attachment arrangement.The content owner, visual approver and production contact.Any retailer-specific checks or barcode verification requirements.The handling of later changes and the person authorised to release them.
If the buyer changes a product code after approval, flag the affected versions explicitly. Do not rely on the printer to infer which previous file has been replaced. The goal is a shared, current production reference.
Keep one approved sample or an agreed reference record available to the receiving team. On delivery, it helps them compare the consignment with the decision that was actually made.
Questions apparel buyers often ask
What should I send when requesting garment hang tag printing?
Send the intended dimensions, quantity by version, approved artwork or design brief, product information, attachment needs and destination or retailer requirements. If some details are undecided, identify them clearly so the supplier can discuss options before quotation and proofing.
Can the printer choose the barcode for my product?
The business responsible for product identification should confirm the required system and approved identifiers. The printer needs clear instructions and the correct data. Design support should not be confused with authority to assign product identities.
Is a digital proof enough?
A digital proof is useful for reviewing content and arrangement. A physical sample adds evidence about actual-size readability, material, finishing and attachment. The appropriate approval process depends on the job and buyer requirements.
Can one design work across every size and colour?
A shared template can be useful, but test the longest entries and the complete set of variable information. Check each version against the approved source data rather than assuming that a correct sample guarantees a correct range.
A clearer brief leads to a more useful tag
For garment brands and textile businesses comparing hang tag printing in Karur, begin with the retail task and the information that must be correct. Then develop the layout, protect functional areas and review a physical sample in context.
Share your tag requirement, quantity, artwork and presentation details with Eagle Print Care, and confirm the available production options and approval process for your specific job. A well-organised brief helps turn a small printed item into a dependable part of the product experience.